
How to Configure Microphone in OBS
February 3, 2026
Updated February 3, 2026
Before starting microphone configuration, it's important to ensure the equipment itself is working correctly. Most problems arise even before launching OBS Studio, so you first need to check the physical connection. Make sure the cable is firmly inserted and the Mute button or power switch on the microphone body itself is not pressed.

Equipment Preparation Before Configuration
It's also important to understand what type of microphone you're using: USB mic, XLR through audio interface, or headset. It's not recommended to connect multiple microphones simultaneously without necessity, as this complicates setup and often leads to conflicts. Typical problems at this stage include complete silence, strong background noise, voice interruptions, or situations where the device is not detected.
Checking Microphone in Windows
Before configuring anything in OBS, you need to check system settings. In Windows, the microphone must be selected as the main input device. Check that the right device is added and active, not the laptop's built-in microphone.
Pay attention to gain: the level indicator should respond to your voice. Also make sure applications are allowed to access the microphone. If the system doesn't receive sound, OBS won't be able to hear it either. This is a basic but critically important parameter, without which further steps are meaningless.
Special attention should be paid to the environment. Even a good microphone will sound bad if a fan, air conditioner is working nearby, or mechanical keyboard buttons are too close. Before moving to software configuration, it's advisable to minimize background sources. This will significantly simplify further sound improvement and reduce the need for aggressive filter amplification.
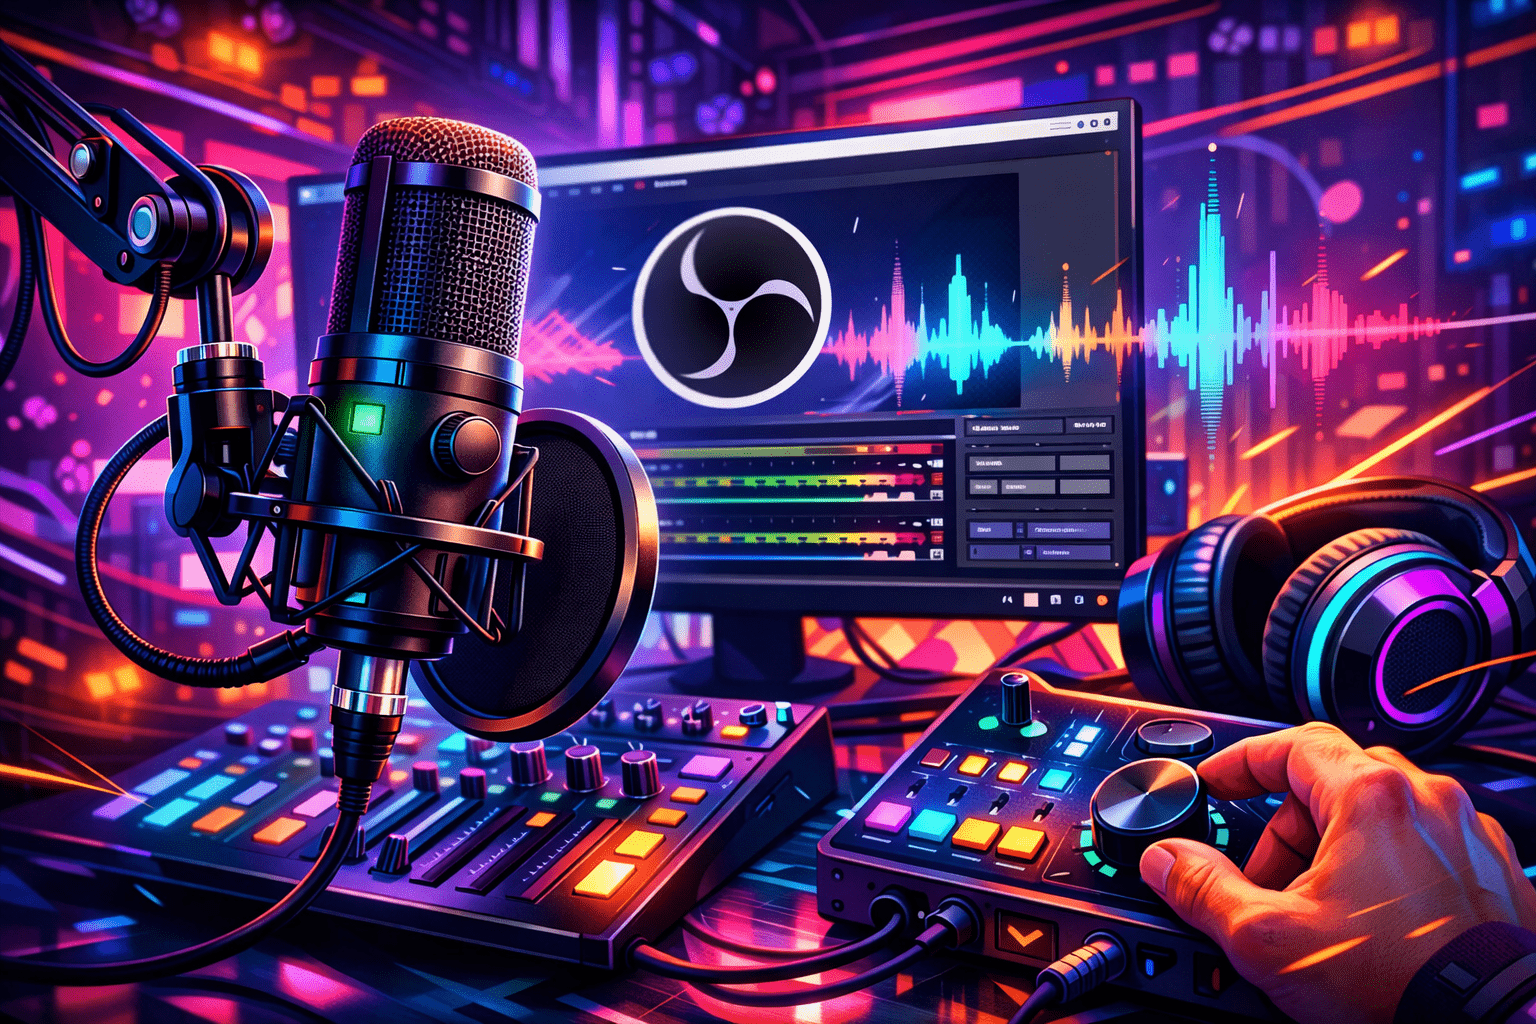
Adding Microphone in OBS: Main Methods
There are two ways to add a microphone in OBS. First — globally through Settings → Audio, where the device is selected for the entire project. Second — by adding a separate Audio Input Capture source to the scene.
Adding the microphone as a source is more convenient, as it gives more control and allows changing parameters for a specific broadcast. At the same time, a common beginner mistake is adding the same microphone twice, which causes echo and delay.
Main options:
- Settings → Audio — simple setup
- Audio Input Capture — advanced addition
- Excluding source duplication
When working with scenes, it's important to remember that adding a source happens separately for each scene. If you add a microphone to one scene and then switch to another, the sound may disappear. This is a common reason why users think OBS has stopped working correctly. The solution is simple — either add the source to each scene or use global audio settings.
Checking in Mixer
After adding the source, open the OBS mixer. This is where you can see if voice is coming into the program. If the scale moves — the microphone is working correctly.
If the indicator is motionless, it means sound is not coming in. Constant red zone indicates the signal is too loud and needs to be adjusted. The mixer allows you to visually assess the situation without complex parameters and immediately understand if something needs to be changed.
The mixer also allows not only listening but also visually controlling sound during broadcast. If the scale reacts with delay or moves jerkily, this may indicate driver problems or system overload.
Setting Base Volume
Base volume setup is always done first, and only then filters are applied. Too quiet signal worsens sound, and overloaded signal ruins broadcast quality.
The right approach is to achieve clean signal with a small reserve. Voice should be intelligible but not go into the red zone.
Don't increase the level just to make the voice maximally loud. It's much more important to preserve clarity and speech intelligibility. If needed, it's better to slightly raise the level at the filter stage than overload the input signal.
Where to Enable Filters
Filters are enabled through the mixer: click the gear button next to the microphone and select 'Filters'. All effects work in a chain, and order matters.
Any enabling or change is heard immediately, especially if using test recording. This is a convenient way to make initial sound improvement without complex actions.
For result control, it's convenient to enable monitoring and listening through headphones. This allows you to immediately hear how filters affect sound and quickly change parameters. This approach helps avoid situations where viewers hear problems before you do.
Noise Suppression and Background Noise Reduction
Noise Suppression reduces constant background: fans, system noise, hum. Noise Gate removes sound during pauses when you're silent. Both filters are important for good voice transmission.
But excessive setup leads to words being cut off or sounding unnatural. If speech 'disappears,' it means parameters are too harsh. The goal is to improve intelligibility, not amplify filtering. Here it's important to listen to the result through monitoring and properly balance the effect.
Compressor for Voice Leveling
The compressor reduces the difference between quiet and loudly spoken speech. It makes volume stable and comfortable for Twitch viewers.
After compression, whispers become more audible, and shouts don't hurt ears. Wrong parameters can worsen sound, so it's important to apply the compressor moderately, focusing on sound rather than numbers.
Limiter and Overload Protection
The limiter is placed at the end of the filter chain and protects against sharp peaks. It's especially good to add and configure for emotional broadcasts where voice can suddenly become loud.
This filter doesn't amplify the signal but limits the maximum, maintaining stable broadcast sound and comfort for stream listeners.
Testing and Common Problems
Any microphone setup should end with testing. Without checking, it's impossible to objectively evaluate the result. The best way is to make a short recording in OBS Studio, then listen to it in headphones. This allows you to hear real distortions that aren't always noticeable during live work.
After recording, it's important to check how sound behaves during normal speech, pauses and voice elevation. This approach helps understand if additional improvement or parameter changes are needed before launching a full broadcast on Twitch.
Common problems — solutions:
- No sound — check if the correct microphone and source are selected
- Noise and background — reduce noise suppression and lower gain
- Echo — remove duplicate microphone addition
- Delay — disable unnecessary filters and monitoring
In most cases, one correction allows you to quickly restore correct and stable sound.