
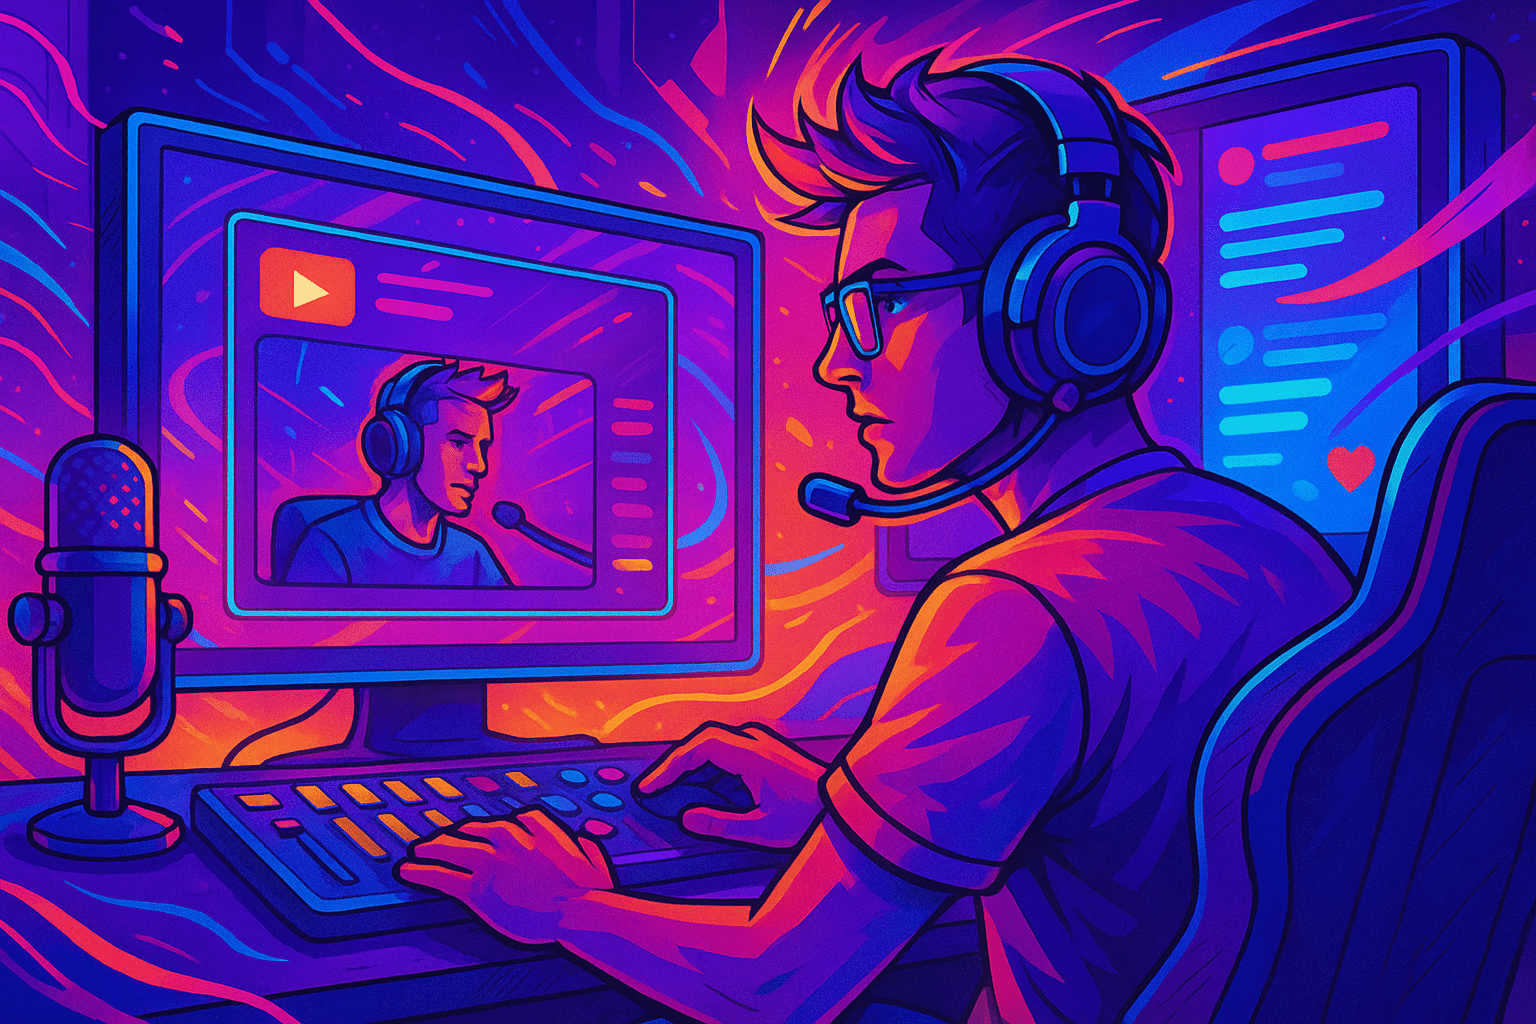
Twitch Stream Manager: the 2026 control room for live broadcasts
April 30, 2026
Updated April 30, 2026
The Twitch Stream Manager is the live cockpit inside the Creator Dashboard at dashboard.twitch.tv/u/<channel>/stream-manager. It groups every in-stream control into one screen: title and category, Activity Feed, Stream Health, Quick Actions, Chat, Stream Markers, Goals and Charity. This guide covers the full 2026 widget catalog and a six-step setup that takes about 12 minutes the first time you run through it.

About Stream Manager
Stream Manager replaced the old Live Dashboard back in late 2019. Twitch described the redesign in plain words: "the new Stream Manager allows you to easily drag-and-drop, pop-out, and/or resize your stream set up, plus see your live stats at a glance." That same drag-and-drop layer still anchors the 2026 layout, so the muscle memory you build now keeps paying off.
If you stream a few times a week and still flip between five tabs, this page solves a real problem. New broadcasters get one screen instead of seven. Affiliates and Partners get faster access to ads, raids and the Manage Goal Quick Action that launches a follower or sub goal in one click. The fewer surfaces you watch, the more you can react to chat, and reaction speed is what separates a 12-minute average watch time from a 3-minute one.
Main Features and Key Advantages
The dashboard is a grid of widgets you arrange yourself. Twitch ships about a dozen native widgets in the 2026 build, and each one targets a specific job during a live broadcast. Here is the full catalog, with the action you actually take on each:
- Stream Info: edit title, category and tags without restarting the encoder; changes propagate to the directory in seconds.
- Activity Feed: the live event log of follows, subs, gift subs, cheers, raids and Channel Points redemptions.
- Stream Health: bitrate, frame rate and dropped frames, sourced from the same pipeline as Twitch Inspector V2 (more on that in our Twitch Inspector deep-dive).
- Quick Actions: a row of one-click buttons; we cover the full button list in step 4.
- Chat: the same chatroom your viewers see, with mod tools docked next to the input box.
- Stream Markers: drop a timestamp during the stream so editors can find it later in the VOD.
- Goals: follower goals for everyone, subscriber and Bits goals for Affiliates and Partners.
- Channel Charity: when charity mode is on, this widget shows the live total raised and the donate button viewers see.
- Mod Actions: an audit trail of bans, timeouts and AutoMod calls, with one-click undo.
- Polls and Predictions: start a poll in seconds; results update live.
- Stream Together: invite up to three guests into one broadcast without third-party software.
- Recent Followers: a separate widget if you want a clean list outside the noisy Activity Feed.
Two things matter more than the names. First, every widget docks into a customizable grid; you can drag the Quick Actions strip to the top of the right rail and tuck Stream Health into the bottom corner where it only flashes when something is wrong. Second, you can save up to five distinct layouts under Edit Layout, useful if your Just Chatting setup needs different panels than your Valorant ranked grind.
A practical example. A variety streamer running 6-hour sessions might keep Stream Info and Quick Actions pinned at the top, the Activity Feed and Goals on the left rail, and Chat plus Mod Actions stacked on the right. An IRL streamer doing mobile broadcasts swaps Stream Health to the top because connection drops are the main risk and you want the bitrate gauge in your peripheral vision.
How It Works (Step-by-Step Guide)
Step 1. Open Stream Manager
Three working URLs land you on the same page. The clean canonical is dashboard.twitch.tv/u/
- Log into Twitch in a desktop browser. Mobile is supported but feature-thin (see the FAQ on mobile parity).
- Click your avatar in the top right and pick Creator Dashboard. The default landing tab is Stream Manager.
- If you stream from a second machine, bookmark the page on the streaming PC so you do not have to log in mid-broadcast.
Quick check before you go live. Open the page once, click Edit Layout, drag two widgets around, and click Save. This forces Twitch to commit your customizations to your account; otherwise the layout sometimes reverts to the default on the next session and you are debugging why Quick Actions moved while you should be greeting raiders.
Step 2. Stream Configuration
The Stream Info widget is where you edit title, category, language and tags. Click the pencil icon, type a new title (140-character limit), then click Done. The change pushes to the directory and to the discoverability surfaces inside roughly 60 seconds; you do not have to restart your encoder.
Tags carry real weight here because Twitch ranks browse pages partly by tag relevance. Add up to 10 tags that match the actual content of the stream (the language, the genre of the game, your accent, your stream format). Avoid stuffing tags that are unrelated to discoverability; the tag system penalizes mismatch with thin reach.
Moderators do not get title and category access by default. If you want a moderator to update them while you focus on gameplay, you have two options: assign the Editor role from your channel settings (which also grants VOD deletion, so pick someone you trust), or wire a chatbot command like StreamElements !settitle through your existing bot. The chatbot route is safer for casual mod teams.
Refresh your title when the stream pivots. A subscriber who lands on "Late-night Apex grinding" expects Apex; if you switched to Just Chatting 40 minutes ago and never updated the title, your watch time tanks because the algorithm keeps surfacing you to the wrong audience.
Step 3. Choosing Stream Category
Click the category field, type the game or content type, and pick the matching entry from the autocomplete. The category is the directory bucket Twitch sorts you into, so accuracy beats creativity. "Just Chatting" is the right pick for podcast-style content; "Software and Game Development" is the right pick if you are coding live.
Why the exact category matters. Twitch ranks channels inside that category by viewer count, so creators who keep a baseline Twitch viewers during live broadcasts presence are much more likely to land on the first page of the category where browsers actually scroll.
Examples of category moves you should make in real time:
- Switching from a game to chatting with subs? Change the category to Just Chatting before you start talking, not after.
- Starting a new game? Pick the exact game title in the autocomplete, even if the game is small. "Indie" is not a category; the game's actual name is.
- Doing a 10-minute break stream with music? Music is its own category, and listeners browse it directly.
If you forget, the Twitch directory keeps showing you in the old category until you update. That is wasted reach; treat the category field as a live setting, not a pre-stream checklist item you set once and ignore.
Step 4. Panel Management
Quick Actions is the row of one-click buttons that handles the most common in-stream tasks. Twitch's own framing back when the panel launched: "Perform powerful actions with one button-click, including clipping, running an ad, emote only chat, and more." The roster has grown a lot since 2019, and here is what is available in the 2026 store:
- Clip That: captures the last 30 or 60 seconds; the clip lands in your Clips library inside ~10 seconds.
- Run Ad: schedule a mid-roll ad in 30-second increments up to 180 seconds; you can also Snooze Ad up to three times per stream for 5 minutes each.
- Add Stream Marker: same as the /marker chat command, but on a button. Drops a timestamp into the live VOD for the Highlights tool. Keyboard shortcut Ctrl+B (⌘+B on Mac) works inside chat.
- Raid Channel: search for a channel and send your audience over when you end the stream.
- Stop Raids for 1 Hour: blocks incoming raids for 60 minutes; useful before going to bed to avoid a problem raid you will not see.
- Manage Goal: start a follower goal (everyone) or a subscriber/Bits goal (Affiliates and Partners only). The /goal chat command does the same thing.
- Charity Mode: toggles the Donate to Charity button for viewers; tied to the Channel Charity widget.
- Squad Stream and Stream Together: start a multi-streamer broadcast directly from the panel.
- Emote Only / Subscriber Only / Followers Only Chat: chat-mode toggles for moderation.
- Clear Chat: wipe the chat in one click after spam waves.
Channel panels (the bio blocks under your video player) are managed inside the same dashboard but in a separate widget. To add one, scroll to the panel section, click + Add Panel, pick Text and Image, fill in the title, body and link, then save. Use them for donation links, the Discord invite, your stream schedule, sponsor bios and rules. You can find a deeper template walkthrough in our info-panels editing guide.
Tip on Quick Actions hygiene. The default layout ships nine buttons whether you use them or not. Open Edit Quick Actions, drop the buttons you never click (most streamers do not need Squad Stream every session), and the strip becomes a focused tool instead of a noisy bar.
Step 5. Moderation and Chat
The Chat widget inside Stream Manager is the same chatroom your viewers see, plus inline moderation buttons. Hover any message to surface a Timeout, Ban, Delete and Pin row. Click a username and the user card shows their watch time on your channel, recent message history and a one-click Add Moderator button.
- Timeout users for 10 minutes by default; you can change the duration to 1 hour, 24 hours or a custom value from the user card.
- Ban users permanently when a timeout is not enough; ban appeals route to the Mod View queue.
- Pin messages to the top of chat for rules, donation links or the current poll question.
- Promote a viewer to moderator on the fly with /mod
or the user card button.
Stream Manager and Mod View are different surfaces with overlap. Stream Manager is the streamer's command center; Mod View is the moderator's command center, and it adds tools your mods need that you do not (ban evasion detection, shared mod notes, full chat history). For follower management on the same dashboard, see our follower list walkthrough.
AutoMod sits inside the Mod Actions widget. It quarantines messages that match Twitch's content filters before they hit chat; you approve or deny each one in one click. Set AutoMod to medium for most channels and only turn it up if you stream content that attracts brigading.
Pre-stream prep tip. Open Mod Actions and Activity Feed before you click Start Streaming in OBS. The Activity Feed is empty until your first viewer, but having both widgets visible at session start means you do not miss the first follow because you were re-arranging the layout.
Step 6. Ending the Stream
There is no End Stream button inside Stream Manager itself. Twitch ends the broadcast when your encoder stops sending the video signal: OBS, Streamlabs, Twitch Studio or your console. Click Stop Streaming in your encoder; the stream ends in 5-15 seconds. If you also want to send your audience somewhere, queue a raid first via the Raid Channel Quick Action, then stop the encoder when the raid timer expires.
After the stream ends, two cleanup actions matter. First, check Stream Health one more time before closing the tab. If the bitrate dropped or you had frame loss, that explains any chat complaints about lag and tells you what to fix next session. Second, open the Highlights tool from the dashboard and turn the strongest 30-60 second moments into clips while they are still fresh in your head; the Stream Markers you dropped during the broadcast appear directly on the VOD timeline.
Mobile streamers, the flow is shorter. The Twitch mobile app's Create button stops the broadcast directly. The Activity Feed remains accessible after you go offline so you can still respond to the last follows. Our mobile IRL broadcasting guide covers the IRL-specific workflow.
Additional Settings and Useful Tips
- Keep Stream Health visible at all times. A Twitch Inspector V2 panel sits inside the dashboard, showing bitrate stability and dropped-frame counts on the same data feed. If the bar drops below the green band, lower your encoder bitrate by 1,000 kbps and watch chat for lag complaints.
- Use Stream Markers liberally. Drop one with /marker great moment 4-stack ace every time something memorable happens. The Highlights tool finds them on the VOD timeline and turns 4 hours of footage into a 90-second YouTube short in under 10 minutes of edit time.
- Save layouts per content type. Variety streamers should build a Just Chatting layout (chat-heavy, big Activity Feed) and a Game layout (compact chat, large Stream Info to confirm the game stays current). Twitch supports up to five saved layouts.
- Treat tags as a 60-second pre-stream task. Open Stream Info, scroll the tag list, drop the ones that no longer match, add 1-2 fresh ones tied to the day's content. Tags drift over a season the same way titles do.
- Do not delegate title and category to a moderator without picking the right tool. Either give them the Editor role (which also grants VOD deletion, so trust matters) or set up a chatbot command. Do not share your account password.
- Pin one chat message at the start of every stream. Rules, donation link, the current goal, the night's bingo, anything that answers the most-asked question of the session. Pinning saves you from typing the same answer 18 times.
- Combine Stream Manager with a popout chat on a second monitor. The dashboard lives on the secondary screen so the game keeps the primary; chat popout overlays on top of low-priority desktop apps. A vertical secondary monitor is the cheapest workflow upgrade in streaming.
- Test the Charity Mode switch before you need it. Charity streams have a different Quick Actions surface (the Donate button activates) and you do not want to debug it during a 6-hour fundraiser. Run a 5-minute private test stream a day ahead.
- Refresh tag list seasonally. Twitch retires tags occasionally and adds new ones; outdated tags silently lose discoverability weight.
If you are growing a smaller channel and the Activity Feed is quiet, the bottleneck is usually category visibility, not Stream Manager configuration. We cover the audience-arrival side in our channel analytics deep dive and the on-channel polish in our channel page setup walkthrough. The metadata side lives in the Twitch tags guide.
Frequently Asked Questions (FAQ)
The canonical URL is dashboard.twitch.tv/u/
No. Stream Manager is available to every Twitch account that can go live. Affiliate or Partner status only unlocks specific widgets like sub goals, Bits goals and the full Run Ad Quick Action. The 2026 Affiliate threshold is 25 followers, 4 hours streamed, 4 unique broadcasts and 3 average viewers.
Yes. The Stream Info widget edits title and category in real time without restarting the encoder. Changes appear in the directory in roughly 60 seconds. Update them every time the content of the stream pivots.
Not by default. Twitch's native Moderator role does not include title and category permissions. To grant them, either promote the user to Editor (which also grants VOD deletion, so pick someone you trust) or wire a chatbot command like StreamElements !settitle and !setgame so mods can update from chat.
Live bitrate, frame rate, dropped frames and ingest server status, sourced from the same pipeline as Twitch Inspector V2. Green means stable; yellow or red means buffering on the viewer side. Drop your encoder bitrate by 1,000 kbps if it stays in the yellow.
Three options. Type /marker
The Twitch mobile app exposes a thin version: viewer count, follower count, Activity Feed, chat and one-click clip. Quick Actions and the full widget catalog stay desktop-only. Most streamers run Stream Manager on a desktop browser even when broadcasting from mobile.
Twitch updates the live counter in 1-3 minute chunks and weighs active engagement (viewers who watch a meaningful duration). Embeds, very short visits and ad-block fallbacks may not register. Check the Unique Viewers metric in Stream Summary after the stream; it reconciles the numbers and is more accurate than the live count.
Yes. Click Edit Layout in the dashboard top bar; you can create up to five layouts and switch between them in one click. Common pairing: a chat-heavy Just Chatting layout and a compact Game layout.
Stream Manager is the streamer's command center: title, category, ads, raids, Quick Actions, Stream Health. Mod View is the moderator's command center: shared mod notes, ban evasion intel, full chat history, AutoMod queue. Streamers use both; mods only need Mod View.
Conclusion
Stream Manager is one window that replaces seven. The 2026 widget catalog gives every common live-production task a one-click home: Quick Actions for clips and ads, Stream Info for the live title and category swap, Stream Health for the bitrate gauge, Activity Feed for follows and subs, Markers for VOD work later. Spend 12 minutes building two saved layouts and a tidy Quick Actions strip the first time you open the dashboard, and the next 200 broadcasts run with no friction. From there, the discoverability levers are tags, category accuracy and category visibility, which is what our broadcasting guidelines breakdown and Hype Train guide articles cover next.